I recently learnt the flask framework for backend development in python, after working on projects, I wanted to show my friends(and brag you know winks) but I had issues deploying to a third-party application, it took me a long while to figure it out hence the reason I’m writing this article to assist others who might have similar issues in future.
What is software deployment?
Software deployment is all of the activities that make a software system available for use, in this case(web development) It means hosting your site on a web server that is accessible to the public. In this article, I’m going to take you through the process of deploying your applications to Heroku. You can read more about Heroku here
Heroku CLI
Heroku Command-Line Interface is what we need to link the development environment(the app on your local computer) to the production environment(the web-server) To use the CLI, you need to create an account with Heroku. Go to heroku.com , click the sign-up button, and fill the necessary information. Once you have your account running, click here to install the CLI on your operating system.
After installation, go to your terminal and type the following to verify if it is installed.
 Then log in using the command below

Create Project
To create and deploy projects using the CLI you need to have git installed on your system. If you don’t have git installed, you can download it on the git website
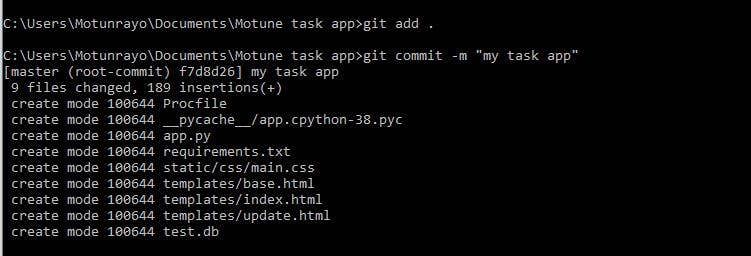
In the same terminal, go to your project folder and run the following commands

Substitute motunrayo-tasks with the name you wish to give your web app, if you don’t add the name of the app Heroku will automatically create a custom domain name for you. For heroku to accept our web app, we need to add an additional dependency and two more files.
- Gunicorn - this is a web server dependency that Heroku will use to serve our file. In the terminal windows, run the following command
 this depends on your operating system. pip install gunicorn will work fine if this doesn't work. I have gunicorn installed already this is why I have that reply.
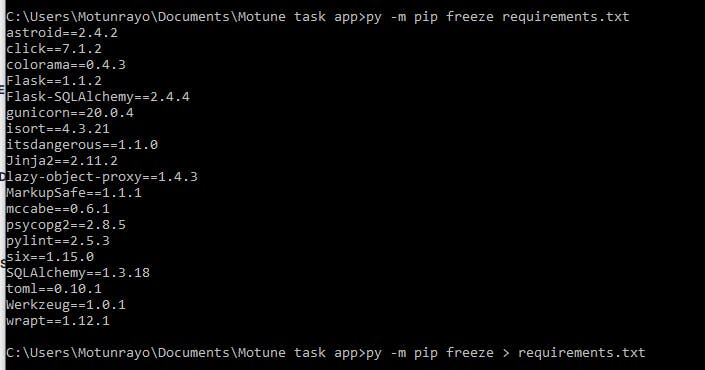
requirements.txt- this is a file that contains all the things our app relies on. In the terminal window, run the following command to get the requirements.
 The first command shows you all your app requirements while the second command creates a text file in your project called requirements.txt. (use pip if py -m pip doesn't work, this has to do with your operating system)
Procfile- this is a text file named Procfile placed in the root of your application that lists the process types in an application. Place the following text in a file named Procfile in your app root directory web: gunicorn :

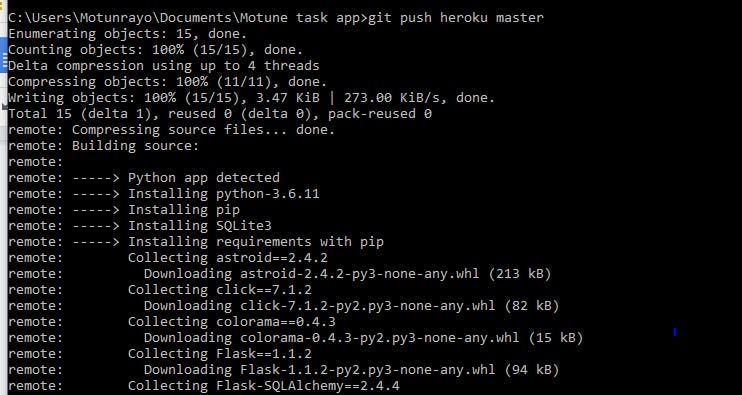
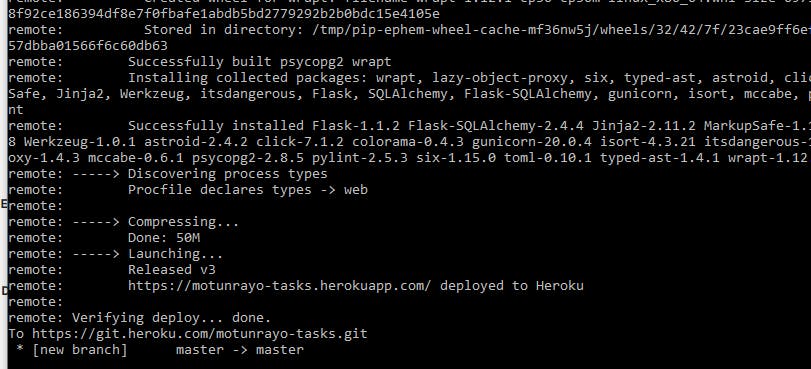
It is finally time to deploy.. use the following git command to deploy your applications.


Yaaaayyyy.. You did it..

Click on the link displayed after your last command to view your app or go to your personal dashboard on heroku to view.
I really hope this article helps somebody.

